Planning for Retractable Awning Installation
Step 1: Request an estimate.

Century Home Improvements has decades of experience installing retractable awnings for homes and businesses. Our expertise allows us to deliver estimates quickly and accurately, and our estimates are good for 90 days. Our customers choose us for the quality of our retractable awning products, our fast, efficient installation, and our competitive pricing. We invite you to compare our offerings and pricing to other awning contractors. We’re sure you’ll immediately see the difference.
Step 2: Choose an installer.
Choosing an awning installer based on who has the lowest price can end up costing you more in the long run if the quality of your awning is poor or the installation isn’t done correctly. It can also result in damage to your home. Ask your friends or neighbors to recommend an installer or check out online reviews to make sure you’re choosing a reputable installer that stands behind their work.
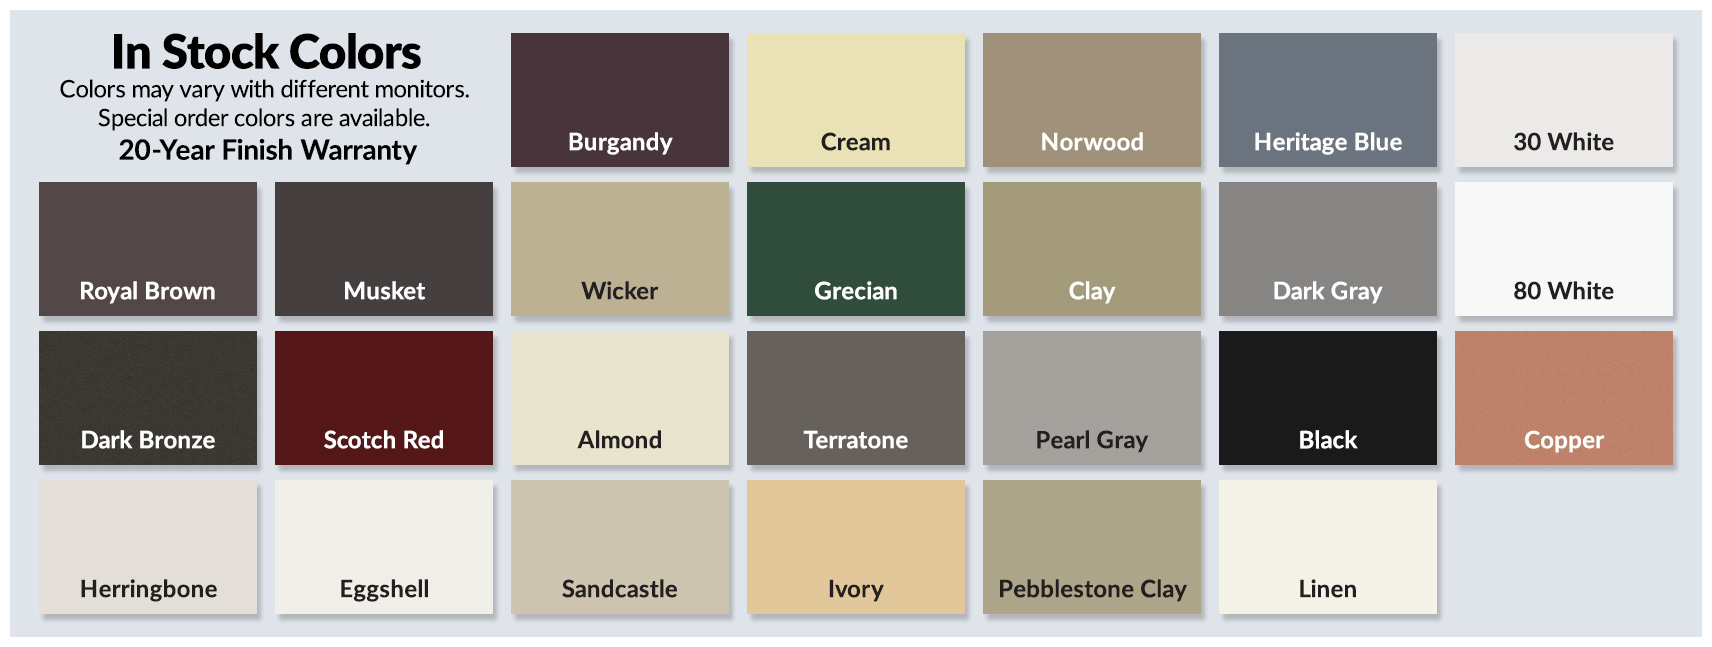
Step 3: Select your options.
When you choose Century Home Improvements for your retractable awning installation, one of our awning experts will meet with you to gather all of the necessary information to create a seamless, stress-free installation experience. First, we’ll work with you to select the awning material and the color or pattern you want to complement your outdoor space. Our material options allow you to control how much sun, light penetration, and air movement you want from your retractable awning material, based on the type of material you choose. Your awning expert can review all of the options with you before you make your selection. For additional inspiration check out our Awning Gallery.
Next, if you didn’t already do so during the estimating stage, at this point you’ll also decide if you want a manual hand crank or a motor to extend and retract your new awning. You can also opt to add a wind sensor to your awning that will sense wind speed and automatically retract your awning in high wind and gusty conditions. This option is only available with a motorized awning. Because the wind sensor is an optional feature, if it was not included in your original estimate, it will result in an increase in the cost of your project. Your awning expert can discuss the wind sensor option with you and provide an amended estimate for your approval before beginning installation.
Step 4: Measure, plan, measure.
Once you’ve identified the location for your new retractable awning and how far you would like your awning to extend (coverage area), your awning expert will inspect the area and take several measurements to ensure proper placement, fit, and coverage prior to your installation. Our attention to detail, preplanning, and measuring ensure we have all of the necessary materials, tools, and hardware ready to go on installation day, and we’ll also discuss any actions you may need to take to prepare the installation site, such as removing furniture or tending to pets.
Step 5: Install.
By installation day, much of the work has already been done to prepare your retractable awning for installation. Your installers will arrive at your home with everything they need to install your new retractable awning quickly and professionally. Installation is typically completed within a few hours, and your installer will walk you through everything you need to know about your new retractable awning before they leave the site.
Step 6: After-installation support
Century Home Improvements stands behind every awning we install, and we’re here to help with any questions you may have following the installation of your retractable awning. We know you’ll enjoy your retractable awning for years to come, and we’re happy to support you anytime.
Start creating your unique outdoor space today with a retractable awning.
Take the next step to creating your ideal outdoor living space and call Century Home Improvements today or request an estimate online.